Our Blog
7 Steps To Create A WordPress Question And Answer Website

The internet has become the primary source of all kinds of information. Whether you are looking for a solution to a difficult math sum or finding a recipe for your dinner, chances are you are logging in to a search engine to find the answer. It is common to see websites dedicated to answering queries of all kinds, in search results. People upload their questions on these interfaces which are then replied to by other users. While searching you must have come across websites like Quora and StackOverflow. You can expect to find solutions to all kinds of inquiries on the former while the latter deals only with coding topics. In this article, we are explaining the method to build a WordPress question and answer website without writing any code. This will help you in building a Q&A interface or in adding a FAQ section to your existing interface.
1. Install A Suitable Plugin
A major reason for WordPress’ popularity is that it is possible to add most features or functionalities without writing any code. Users have to simply choose a suitable plugin and install it on their interface. Many people convert website to WordPress theme only to enjoy the benefit of these tools. In this tutorial, we will also be using a plugin to create our Q&A website. The tool we have chosen for our purpose is called DW Question Answers. In order to install it, first log in to the admin dashboard of your interface. Then locate Plugins in the menu and click on it. Select Add New from the options that are now presented. Enter the name of the tool in the specified field to search for it. Choose the correct option from the results and download its files. Activate the plugin and move to the next step.
2. Change The Titles Of The New Pages
As soon as the tool is activated, it adds two new pages to the website. The first is called the DWQA Questions which displays all the queries. The second is named DWQA Ask Question. It contains a form which can be filled by people desiring to make an inquiry. You will find that the titles and the URLs of both these new pages contain the term “DWQA”. This will not fit in with the existing nomenclature scheme of your pages. In order to make the relevant changes, head back to your dashboard. Go to Pages > All Pages. Hit the Quick Edit link below a page to open the editing options.
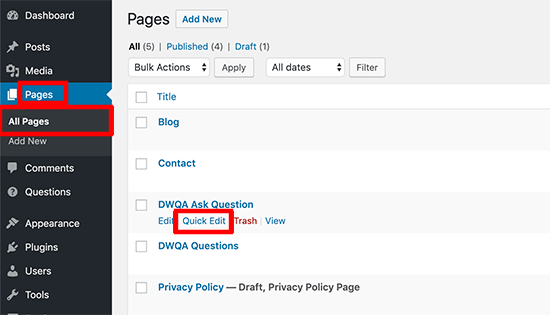
Replace the existing terms with titles and URLs of your choice in the Title and Slug fields respectively. Click Update to confirm the changes.
3. Allow User Registration On The Website
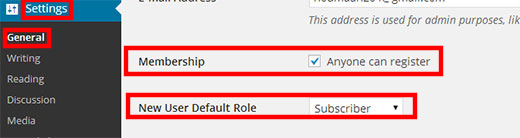
One of the main objectives of creating a WordPress question and answer website is to build a large online community. In order to meet this goal, you will have to allow visitors to register on the website. User registrations can be enabled by making the necessary changes through the dashboard. Locate Settings in the menu and click on the General option. Then scroll down until you reach the Membership section. Tick the box against the option called Anyone can register. In the dropdown menu for the New User Default Role option, select Subscriber. Confirm the changes to enable the user registration feature.
4. Configure The General Settings
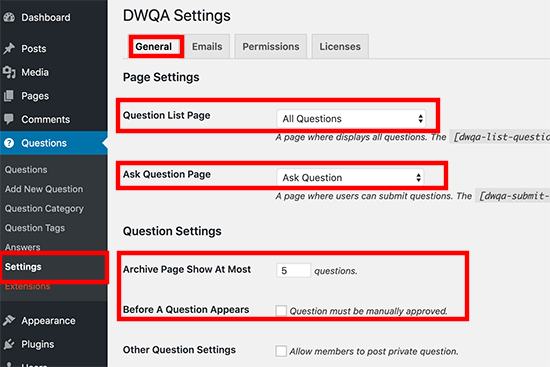
It is now time to configure the settings of the plugin. We will start by making the changes in the General settings of the tool. In your dashboard menu, you will now find an option called Questions. Go To Questions > Settings to open the settings screen. Then click on the General tab. Choose the page where all questions will be displayed in the Question List Page option. In the Ask Question Page, select the page where the query form will be displayed. You can also set the number of inquiries that will be shown on the page. Website owners also have the option of showing a question only after it is manually approved.
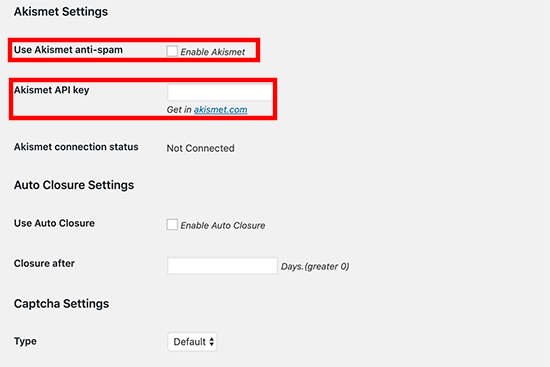
You can also enable anti-spam protection by enabling Akismet. You will need to provide the API key for the purpose. Press the Save changes tab to confirm the settings.
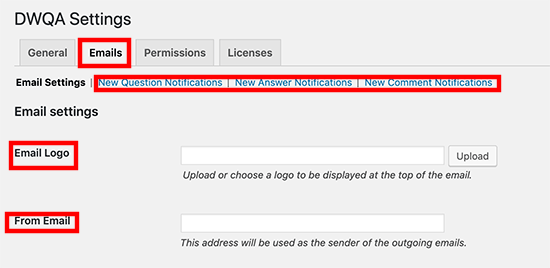
5. Define The E-mail Settings
Now click the Email tab to open its settings screen. Here you can upload your logo and alter the e-mail notifications that the plugin will send to the subscribers.
6. Set User Role Permissions
Once you have confirmed the email settings, switch to the Permissions tab. The default settings let administrators and editors read, post, write and edit all queries and replies. It also enables anonymous visitors to post inquiries. You can change all these permissions by ticking or unchecking the relevant boxes. Press the Save Changes button after you have set all the user role permissions.

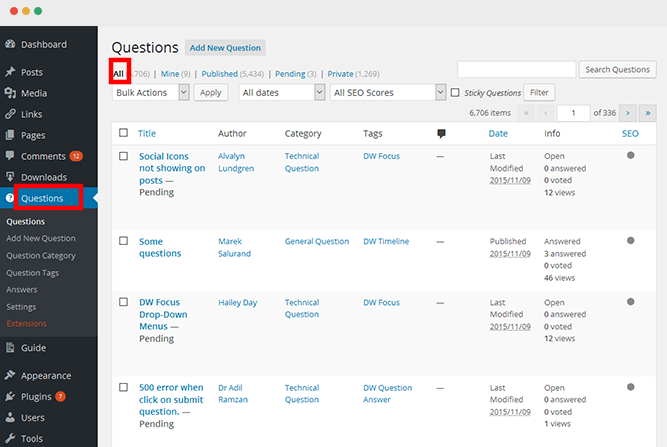
7. Viewing The Posted Questions
Website owners can view all the questions posted by users on their interface by going to DW Q&A > All Questions in the menu. They can edit or delete a question if they want to. In case, they want to organize the queries according to topics, they can also create categories. Users have the option to add tags to the questions while submitting them. They can search for queries by categories, views, status, and answers.
Conclusion
This tutorial will be helpful to users who are interested in developing a Q&A community interface. The process does not involve any coding and will be liked by non-technical users. However, those who still not feel confident can hire a WordPress web development company to do the job.